Sunflower Crochet Bunny: A Project Planner for Yarn, Colour and Finishing
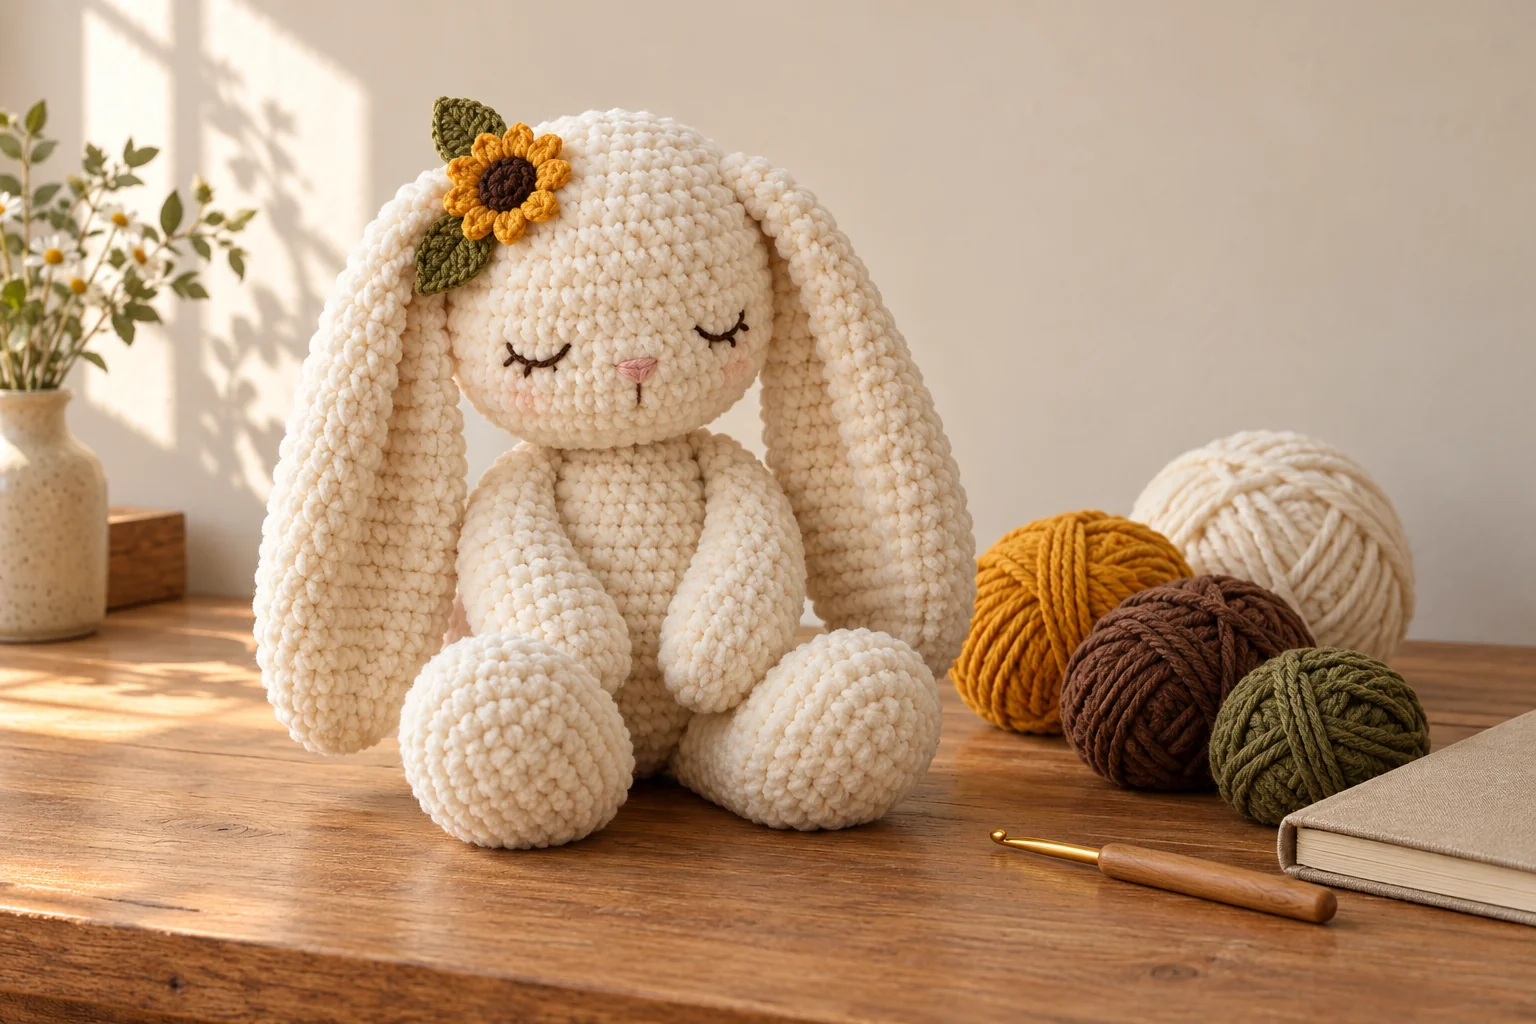
For a sunflower crochet bunny, choose a reliable bunny pattern first, then plan the yarn, colours and finishing around it. Cream yarn, floppy ears and a little sunflower detail give you the look without needing to guess a pattern from a picture. A photograph alone cannot tell you the yarn quantity, stitch counts, attachment method or finished size.
This guide helps you turn the idea into a practical project plan. It includes a shopping checklist, three colour recipes, a way to compare paired pieces and a finishing record you can keep with your pattern. It is a planning guide, not a round-by-round bunny or sunflower pattern. We have not test-made the illustrated bunny. The illustration is a design idea, not a photograph of a tested finished project or a guaranteed result from either linked bunny pattern.
Choose the construction before buying yarn
Decide which part of making amigurumi you most enjoy. If placing and sewing separate pieces feels satisfying, a sewn construction gives you that freedom. If you would rather avoid assembly, look for a pattern that explains how the ears and limbs are attached as you crochet.
Two starting points from their designers are:
- Snuggle Bunny by Nicole Chase: a free bunny pattern with no-sew construction, different yarn examples and two ear options. Follow the designer’s current instructions for your chosen version.
- Funny Bunny by Mari-Liis Lille / lilleliis: a free pattern made from separate pieces, using cotton in the published example.
These are alternative bunny projects, not patterns for the illustrated sunflower bunny. Read each designer’s terms and keep their instructions on their own site. We have not reproduced or rewritten either pattern.
Before choosing, check for a complete materials list, clear assembly information, progress photographs, terminology you understand and a way to contact the designer. A beautiful cover image cannot replace those details.
Make a kit list from the actual pattern
Write the following on one card before shopping:
| Item | What to record |
|---|---|
| Main yarn | Brand, yarn name, fibre, colour, dye lot and pattern quantity |
| Accent yarn | Flower, centre and leaf colours, if your chosen project includes them |
| Hook | The size specified for your selected yarn/version |
| Filling | The material specified in the pattern and its care instructions |
| Finishing tools | Stitch markers, yarn needle, scissors and suitable embroidery yarn |
| Pattern details | Designer, version, terminology and where you saved it |
Do not treat the yarn quantity from a smaller cotton bunny as a shopping estimate for a large chenille bunny. Likewise, do not assume that substituting yarn will preserve the dimensions. Start from a version documented for the yarn you intend to use, or treat a substitution as an experiment.
For a separate flower project, see the Sunflower Crochet Pattern by GoldenLucyCrafts. The designer provides a sunflower appliqué tutorial on her own site. We have not tested it in combination with either bunny. Make one flower first and compare its scale with your bunny before planning a whole arrangement. Follow the designer’s materials and terms rather than copying a flower from a photograph. This guide does not supply an invented sunflower attachment pattern.
Three colour recipes to try
These are original styling suggestions, not yarn-brand shade matches. Choose real yarn under daylight before committing; screens and dye lots vary.
| Recipe | Bunny | Petals | Flower centre | Leaves |
|---|---|---|---|---|
| Golden Meadow | Cream | Marigold | Cocoa | Olive |
| Soft Sunshine | Oat | Butter yellow | Caramel | Sage |
| Autumn Garden | Warm beige | Ochre | Espresso | Moss |
Keep the bunny’s body visually quiet so the flower has a clear focal point. Compare the chosen colours together in a small arrangement, rather than evaluating each ball separately. Photograph them in colour and in greyscale: if the centre and petals merge, try a darker centre or lighter petals.
You can keep the floral idea with a single accent rather than a full crown. Lay out the options first. An arrangement that looks balanced from the front may hide an ear or make the head look crowded from the side.
Compare both ears while you work
For a pattern with separate ears, use the first completed ear as a comparison piece while making the second. Record the yarn and hook, tick off rounds or rows and check each piece against the pattern before fastening off.
Lay the ears flat beside each other. Compare length, width, shaping and the top edge that will be attached. If they differ, check the counts and shaping first. Pulling one ear longer is not a substitute for finding a missed increase or an extra row.
Before sewing, position the ears temporarily using your usual assembly method, check the front and side views, then follow the pattern’s attachment instructions. Remove all temporary pins or markers before the project leaves your work area. For a no-sew pattern, follow its attachment order instead of trying to apply this separate-piece process.
Check the filling before closing a piece
Use the pattern’s directions for which pieces to fill and how firmly. Keep the opening accessible until you have checked the shape.
- Look: Is filling visible through the fabric when the piece is gently handled?
- Feel: Are there obvious lumps or an unexpectedly empty area?
- Compare: Do paired pieces feel and look consistent with the pattern’s intended shape?
If filling shows, pause. Check the pattern, fabric density and amount of filling before continuing. Adding more filling will not solve open fabric. If the fabric is too loose, the fix may require remaking the piece with a suitable hook and tension. The right adjustment depends on your yarn and pattern.
Decide who the finished piece is for
A decorative bunny and a child’s toy need different decisions about eyes, ornaments and attachments. A product called a “safety eye” is not, by that name alone, proof that a homemade toy is suitable for a baby.
The US Consumer Product Safety Commission explains the small-parts requirements for products intended for children under three. Its toy-safety guidance also discusses long cords and ribbons. Embroidered features avoid separate plastic eye components, but they do not establish that the whole toy meets applicable safety requirements. A home inspection does not replace required product testing.
Keep stuffed toys out of an infant’s sleep space, following the American Academy of Pediatrics safe-sleep guidance. For a display project, place it away from the baby’s reach rather than using a cot as a photo setting.
Keep a project record you can reuse
Copy this card into your notebook:
| Field | Your notes |
|---|---|
| Pattern and designer | |
| Pattern version / date saved | |
| Yarn, colour and dye lot | |
| Hook used | |
| Ear / accent option | |
| Changes made | |
| Care directions for yarn, filling and decoration | |
| Final inspection completed |
Check closures, attachment points and loose ends before gifting. Include care information that suits every component, rather than assuming a mixed-material project can be machine-washed.
Questions before you start
Can I make the exact bunny from a Pinterest photograph?
Not reliably from the photograph alone. Find the original creator and pattern where possible. Do not assume a pattern offered by another account produced that image.
Can I use chenille instead of cotton?
Only treat them as interchangeable if the designer documents that choice. Yarn changes can affect size, fabric and the way details work. A pattern written for your chosen yarn is the clearer starting point.
Is a sunflower crown necessary?
No. It is a styling choice. A single flower can carry the colour idea, but use a documented flower tutorial and consider the recipient before adding decoration.